HiKam A7 can be set up with Wi-Fi. A successful setup relies on the router’s configuration and your Internet provider’s network. If any configuration blocks communication with the camera, then a successful setup cannot be achieved. You should move to “(HiKam A7) Setup with Cable”.
Before starting setup
Step 1: Make sure of the following:
- Your router supports the 2.4GHz frequency band.
- Your mobile device is connected to the Internet with a WLAN/Wi-Fi that the camera will connect with.
- Your mobile device, camera, and router should be within approximately nine feet during setup. After your camera finishes setup, you can move it to your preferred location.
- You know the WLAN/Wi-Fi password.
Step 2: Download and install HiKam app. Move forward to Step 3 if the HiKam app is already in your mobile device.
- Go to App Store (iPhone/iPad) or Google Play (Android) and search “HiKam camera”. Get HiKam app.
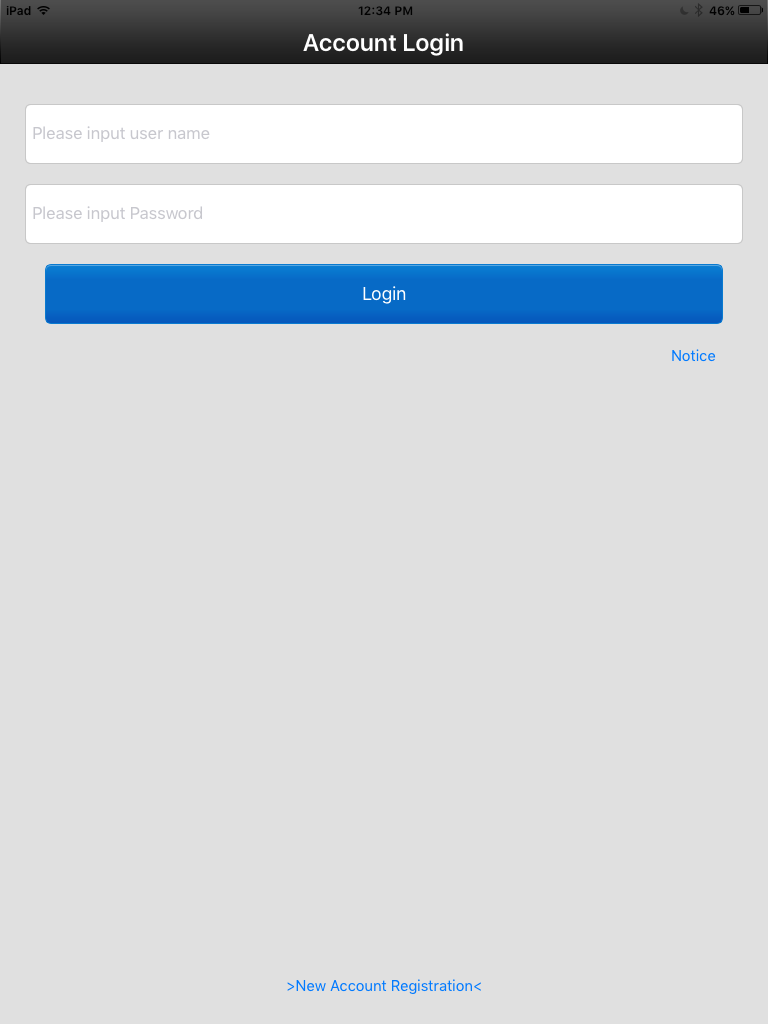
- Create your account in the app by tapping >New Account Registration<.
Step 3: Start camera
- Remove the camera from its packaging and thread the two antennas to their corresponding labeled connectors.
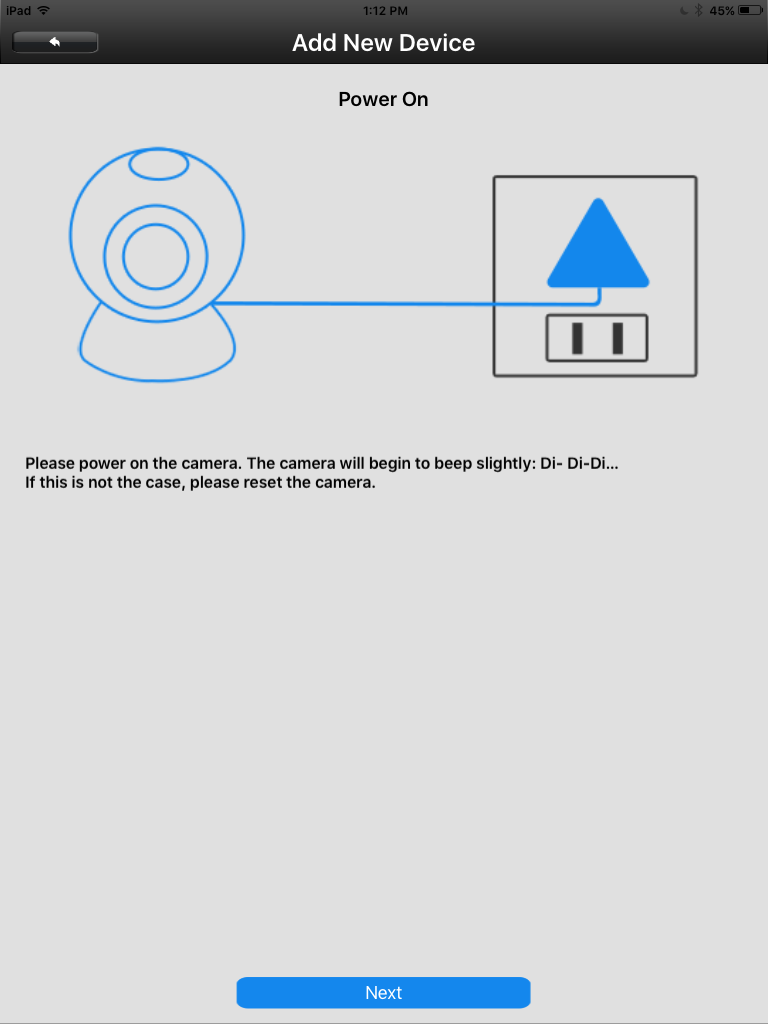
- Connect the power cord with the camera cable to power on the camera. The green LED indicator at the end of the cable comes on.
- Wait for the camera to beep. If beeping is not heard within one minute, press and hold the reset button until a successful signal, which is a metallic clash sound, is heard. Wait another 30 seconds for the reset completion. The camera will then start beeping.
Start setup
Step 1: Log in HiKam app and tap + at the upper-right corner.

Step 2: Tap AirLink.

Step 3: Make sure the camera is beeping. Then tap Next.
Step 4: When prompted, type in the Wi-Fi password. Then tap Next.

Step 5: Wait for the connection. The app has started to configure the camera with Wi-Fi. Once the camera receives all configurations from your mobile device, you will hear a sound (“Dong…”) signifying that your camera has begun to connect to the app server through the Wi-Fi router. Once the connection is completed you will see the notice “WiFi configuration successful” in the app, otherwise “Airlink Timeout”. In the former case move forward to step 6. In the latter, try one more time. If the connection fails to complete again, switch to “(HiKam A7) Setup with Cable.

Step 6 In the prompted window, name the camera and enter the initial password 123. Then tap Next at the upper-right corner.
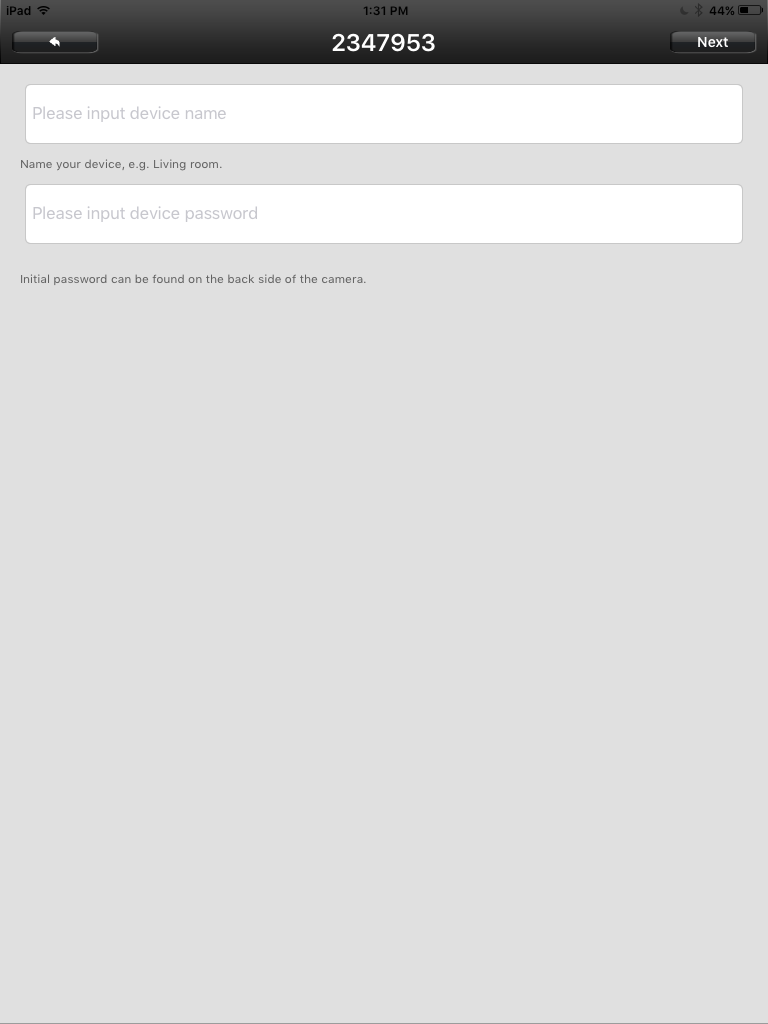
Step 7: Enter a new password consisting of 6-30 characters for your camera when prompted. Do not start your password with the Roman numeral zero “0”. A successful operation will be notified by “Modify successfully” in the app. If this does not happen within one minute, then force quit the app, reset your camera by pressing and holding the reset button, and restart from Step 1. If encountering another failure, please check your Wi-Fi router configuration or contact our Customer Support Team.

Finish setup
You can now follow the live video stream on your mobile device.